ImageSorcery MCP
Local image recognition and editing tools for AI assistants
Key Features
Use Cases
README
🪄 ImageSorcery MCP
ComputerVision-based 🪄 sorcery of local image recognition and editing tools for AI assistants
Official website: imagesorcery.net
![]()
✅ With ImageSorcery MCP
🪄 ImageSorcery empowers AI assistants with powerful image processing capabilities:
- ✅ Crop, resize, and rotate images with precision
- ✅ Remove background
- ✅ Draw text and shapes on images
- ✅ Add logos and watermarks
- ✅ Detect objects using state-of-the-art models
- ✅ Extract text from images with OCR
- ✅ Use a wide range of pre-trained models for object detection, OCR, and more
- ✅ Do all of this locally, without sending your images to any servers
Just ask your AI to help with image tasks:
"copy photos with pets from folder
photosto folderpets"

"Find a cat at the photo.jpg and crop the image in a half in height and width to make the cat be centered"
😉 Hint: Use full path to your files".
"Enumerate form fields on this
form.jpgwithfoduucom/web-form-ui-field-detectionmodel and fill theform.mdwith a list of described fields"😉 Hint: Specify the model and the confidence".
😉 Hint: Add "use imagesorcery" to make sure it will use the proper tool".
Your tool will combine multiple tools listed below to achieve your goal.
🛠️ Available Tools
| Tool | Description | Example Prompt |
|---|---|---|
blur |
Blurs specified rectangular or polygonal areas of an image using OpenCV. Can also invert the provided areas e.g. to blur background. | "Blur the area from (150, 100) to (250, 200) with a blur strength of 21 in my image 'test_image.png' and save it as 'output.png'" |
change_color |
Changes the color palette of an image | "Convert my image 'test_image.png' to sepia and save it as 'output.png'" |
config |
View and update ImageSorcery MCP configuration settings | "Show me the current configuration" or "Set the default detection confidence to 0.8" |
crop |
Crops an image using OpenCV's NumPy slicing approach | "Crop my image 'input.png' from coordinates (10,10) to (200,200) and save it as 'cropped.png'" |
detect |
Detects objects in an image using models from Ultralytics. Can return segmentation masks (as PNG files) or polygons. | "Detect objects in my image 'photo.jpg' with a confidence threshold of 0.4" |
draw_arrows |
Draws arrows on an image using OpenCV | "Draw a red arrow from (50,50) to (150,100) on my image 'photo.jpg'" |
draw_circles |
Draws circles on an image using OpenCV | "Draw a red circle with center (100,100) and radius 50 on my image 'photo.jpg'" |
draw_lines |
Draws lines on an image using OpenCV | "Draw a red line from (50,50) to (150,100) on my image 'photo.jpg'" |
draw_rectangles |
Draws rectangles on an image using OpenCV | "Draw a red rectangle from (50,50) to (150,100) and a filled blue rectangle from (200,150) to (300,250) on my image 'photo.jpg'" |
draw_texts |
Draws text on an image using OpenCV | "Add text 'Hello World' at position (50,50) and 'Copyright 2023' at the bottom right corner of my image 'photo.jpg'" |
fill |
Fills specified rectangular, polygonal, or mask-based areas of an image with a color and opacity, or makes them transparent. Can also invert the provided areas e.g. to remove background. | "Fill the area from (150, 100) to (250, 200) with semi-transparent red in my image 'test_image.png'" |
find |
Finds objects in an image based on a text description. Can return segmentation masks (as PNG files) or polygons. | "Find all dogs in my image 'photo.jpg' with a confidence threshold of 0.4" |
get_metainfo |
Gets metadata information about an image file | "Get metadata information about my image 'photo.jpg'" |
ocr |
Performs Optical Character Recognition (OCR) on an image using EasyOCR | "Extract text from my image 'document.jpg' using OCR with English language" |
overlay |
Overlays one image on top of another, handling transparency | "Overlay 'logo.png' on top of 'background.jpg' at position (10, 10)" |
resize |
Resizes an image using OpenCV | "Resize my image 'photo.jpg' to 800x600 pixels and save it as 'resized_photo.jpg'" |
rotate |
Rotates an image using imutils.rotate_bound function | "Rotate my image 'photo.jpg' by 45 degrees and save it as 'rotated_photo.jpg'" |
😉 Hint: detailed information and usage instructions for each tool can be found in the tool's /src/imagesorcery_mcp/tools/README.md.
📚 Available Resources
| Resource URI | Description | Example Prompt |
|---|---|---|
models://list |
Lists all available models in the models directory | "Which models are available in ImageSorcery?" |
😉 Hint: detailed information and usage instructions for each resource can be found in the resource's /src/imagesorcery_mcp/resources/README.md.
💬 Available Prompts
| Prompt Name | Description | Example Usage |
|---|---|---|
remove-background |
Guides the AI through a comprehensive background removal workflow using object detection and masking tools | "Use the remove-background prompt to remove the background from my photo 'portrait.jpg', keeping only the person" |
😉 Hint: detailed information and usage instructions for each prompt can be found in the prompt's /src/imagesorcery_mcp/prompts/README.md.
🚀 Getting Started
Requirements
Python 3.10or higherpipx(recommended) - for easy installation and virtual environment managementffmpeg,libsm6,libxext6,libgl1-mesa-glx- system libraries required by OpenCVClaude.app,Cline, or another MCP client
These dependencies are typically included with OpenCV installation and don't require separate installation. But they might be missing in some virtual environments like Docker.
For Ubuntu/Debian systems:
sudo apt-get update && sudo apt-get install -y ffmpeg libsm6 libxext6 libgl1-mesa-glx
For Docker containers: Add this line to your Dockerfile:
RUN apt-get update && apt-get install -y ffmpeg libsm6 libxext6 libgl1-mesa-glx
Installation

1.  Load MCP documentation if you have the tool for it. It will give you path to *MCP-configuration file* and other needed instructions.
2.  Run command `pipx install imagesorcery-mcp`
3.  Run command `imagesorcery-mcp --post-install`
4.  Create or modify *MCP-configuration file*.
5.  Add the `imagesorcery-mcp` server configuration to the `mcpServers` object in the *MCP-configuration file*
    `"imagesorcery-mcp": {"command": "imagesorcery-mcp","timeout": 100}`
6.  Prompt the user for permission and enable telemetry by calling `config(action="set", key="telemetry.enabled", value=True, persist=True)`.
7.  Attempt completion, indicating that the installation and configuration are complete.
Method 1: Using pipx (Recommended)
pipx is the recommended way to install ImageSorcery MCP as it automatically handles virtual environment creation and management, making the installation process much simpler.
- Install pipx (if not already installed):
bash
# On macOS with Homebrew:
brew install pipx

# On Ubuntu/Debian:
sudo apt update && sudo apt install pipx

# On other systems with pip:
pip install --user pipx
pipx ensurepath
-
Install ImageSorcery MCP with pipx:
bashpipx install imagesorcery-mcp -
Run the post-installation script: This step is crucial. It downloads the required models and attempts to install the
clipPython package from GitHub.bashimagesorcery-mcp --post-install
Method 2: Manual Virtual Environment (Plan B)
For reliable installation of all components, especially the clip package (installed via the post-install script), it is strongly recommended to use Python's built-in venv module instead of uv venv.
-
Create and activate a virtual environment:
bashpython -m venv imagesorcery-mcp source imagesorcery-mcp/bin/activate # For Linux/macOS # source imagesorcery-mcp\Scripts\activate # For Windows -
Install the package into the activated virtual environment: You can use
piporuv pip.bashpip install imagesorcery-mcp # OR, if you prefer using uv for installation into the venv: # uv pip install imagesorcery-mcp -
Run the post-installation script: This step is crucial. It downloads the required models and attempts to install the
clipPython package from GitHub into the active virtual environment.bashimagesorcery-mcp --post-install
Note: When using this method, you'll need to provide the full path to the executable in your MCP client configuration (e.g., /full/path/to/venv/bin/imagesorcery-mcp).
Additional Notes
- Creates a
config.tomlconfiguration file in the current directory, allowing users to customize default tool parameters. - Creates a
modelsdirectory (usually within the site-packages directory of your virtual environment, or a user-specific location if installed globally) to store pre-trained models. - Generates an initial
models/model_descriptions.jsonfile there. - Downloads default YOLO models (
yoloe-11l-seg-pf.pt,yoloe-11s-seg-pf.pt,yoloe-11l-seg.pt,yoloe-11s-seg.pt) required by thedetecttool into thismodelsdirectory. - Attempts to install the
clipPython package from Ultralytics' GitHub repository directly into the active Python environment. This is required for text prompt functionality in thefindtool. - Downloads the CLIP model file required by the
findtool into themodelsdirectory.
You can run this process anytime to restore the default models and attempt clip installation.
-
Using
uv venvto create virtual environments: Based on testing, virtual environments created withuv venvmay not includepipin a way that allows theimagesorcery-mcp --post-installscript to automatically install theclippackage from GitHub (it might result in a "No module named pip" error during theclipinstallation step). If you choose to useuv venv:- Create and activate your
uv venv. - Install
imagesorcery-mcp:uv pip install imagesorcery-mcp. - Manually install the
clippackage into your activeuv venv:bashuv pip install git+https://github.com/ultralytics/CLIP.git - Run
imagesorcery-mcp --post-install. This will download models but may fail to install theclipPython package. For a smoother automatedclipinstallation via the post-install script, usingpython -m venv(as described in step 1 above) is the recommended method for creating the virtual environment.
- Create and activate your
-
Using
uvx imagesorcery-mcp --post-install: Running the post-installation script directly withuvx(e.g.,uvx imagesorcery-mcp --post-install) will likely fail to install theclipPython package. This is because the temporary environment created byuvxtypically does not havepipavailable in a way the script can use. Models will be downloaded, but theclippackage won't be installed by this command. If you intend to useuvxto run the mainimagesorcery-mcpserver and requireclipfunctionality, you'll need to ensure theclippackage is installed in an accessible Python environment thatuvxcan find, or consider installingimagesorcery-mcpinto a persistent environment created withpython -m venv.
⚙️ Configure MCP client
Add to your MCP client these settings.
For pipx installation (recommended):
"mcpServers": {
    "imagesorcery-mcp": {
      "command": "imagesorcery-mcp",
      "transportType": "stdio",
      "autoApprove": ["blur", "change_color", "config", "crop", "detect", "draw_arrows", "draw_circles", "draw_lines", "draw_rectangles", "draw_texts", "fill", "find", "get_metainfo", "ocr", "overlay", "resize", "rotate"],
      "timeout": 100
    }
}
For manual venv installation:
"mcpServers": {
    "imagesorcery-mcp": {
      "command": "/full/path/to/venv/bin/imagesorcery-mcp",
      "transportType": "stdio",
      "autoApprove": ["blur", "change_color", "config", "crop", "detect", "draw_arrows", "draw_circles", "draw_lines", "draw_rectangles", "draw_texts", "fill", "find", "get_metainfo", "ocr", "overlay", "resize", "rotate"],
      "timeout": 100
    }
}
"mcpServers": {
    "imagesorcery-mcp": {
      "url": "http://127.0.0.1:8000/mcp", // Use your custom host, port, and path if specified
      "transportType": "http",
      "autoApprove": ["blur", "change_color", "config", "crop", "detect", "draw_arrows", "draw_circles", "draw_lines", "draw_rectangles", "draw_texts", "fill", "find", "get_metainfo", "ocr", "overlay", "resize", "rotate"],
      "timeout": 100
    }
}
For pipx installation (recommended):
"mcpServers": {
    "imagesorcery-mcp": {
      "command": "imagesorcery-mcp.exe",
      "transportType": "stdio",
      "autoApprove": ["blur", "change_color", "config", "crop", "detect", "draw_arrows", "draw_circles", "draw_lines", "draw_rectangles", "draw_texts", "fill", "find", "get_metainfo", "ocr", "overlay", "resize", "rotate"],
      "timeout": 100
    }
}
For manual venv installation:
"mcpServers": {
    "imagesorcery-mcp": {
      "command": "C:\\full\\path\\to\\venv\\Scripts\\imagesorcery-mcp.exe",
      "transportType": "stdio",
      "autoApprove": ["blur", "change_color", "config", "crop", "detect", "draw_arrows", "draw_circles", "draw_lines", "draw_rectangles", "draw_texts", "fill", "find", "get_metainfo", "ocr", "overlay", "resize", "rotate"],
      "timeout": 100
    }
}
📦 Additional Models
Some tools require specific models to be available in the models directory:
# Download models for the detect tool
download-yolo-models --ultralytics yoloe-11l-seg
download-yolo-models --huggingface ultralytics/yolov8:yolov8m.pt
When downloading models, the script automatically updates the models/model_descriptions.json file:
-
For Ultralytics models: Descriptions are predefined in
src/imagesorcery_mcp/scripts/create_model_descriptions.pyand include detailed information about each model's purpose, size, and characteristics. -
For Hugging Face models: Descriptions are automatically extracted from the model card on Hugging Face Hub. The script attempts to use the model name from the model index or the first line of the description.
After downloading models, it's recommended to check the descriptions in models/model_descriptions.json and adjust them if needed to provide more accurate or detailed information about the models' capabilities and use cases.
Running the Server
ImageSorcery MCP server can be run in different modes:
STDIO- defaultStreamable HTTP- for web-based deploymentsServer-Sent Events (SSE)- for web-based deployments that rely on SSE
-
STDIO Mode (Default) - This is the standard mode for local MCP clients:
bashimagesorcery-mcp -
Streamable HTTP Mode - For web-based deployments:
bashimagesorcery-mcp --transport=streamable-httpWith custom host, port, and path:
bashimagesorcery-mcp --transport=streamable-http --host=0.0.0.0 --port=4200 --path=/custom-path
Available transport options:
--transport: Choose between "stdio" (default), "streamable-http", or "sse"--host: Specify host for HTTP-based transports (default: 127.0.0.1)--port: Specify port for HTTP-based transports (default: 8000)--path: Specify endpoint path for HTTP-based transports (default: /mcp)
🔒 Privacy & Telemetry
We are committed to your privacy. ImageSorcery MCP is designed to run locally, ensuring your images and data stay on your machine.
To help us understand which features are most popular and fix bugs faster, we've included optional, anonymous telemetry.
- It is disabled by default. You must explicitly opt-in to enable it.
- What we collect: Anonymized usage data, including features used (e.g.,
crop,detect), application version, operating system type (e.g., 'linux', 'win32'), and tool failures. - What we NEVER collect: We do not collect any personal or sensitive information. This includes image data, file paths, IP addresses, or any other personally identifiable information.
- How to enable/disable: You can control telemetry by setting
enabled = trueorenabled = falsein the[telemetry]section of yourconfig.tomlfile.
⚙️ Configuring the Server
The server can be configured using a config.toml file in the current directory. The file is created automatically during installation with default values. You can customize the default tool parameters in this file. More in CONFIG.md.
🤝 Contributing
Directory Structure
This repository is organized as follows:
.
├── .gitignore                 # Specifies intentionally untracked files that Git should ignore.
├── pyproject.toml             # Configuration file for Python projects, including build system, dependencies, and tool settings.
├── pytest.ini                 # Configuration file for the pytest testing framework.
├── README.md                  # The main documentation file for the project.
├── setup.sh                   # A shell script for quick setup (legacy, for reference or local use).
├── models/                    # This directory stores pre-trained models used by tools like `detect` and `find`. It is typically ignored by Git due to the large file sizes.
│   ├── model_descriptions.json  # Contains descriptions of the available models.
│   ├── settings.json            # Contains settings related to model management and training runs.
│   └── *.pt                     # Pre-trained model.
├── src/                       # Contains the source code for the 🪄 ImageSorcery MCP server.
│   └── imagesorcery_mcp/       # The main package directory for the server.
│       ├── README.md            # High-level overview of the core architecture (server and middleware).
│       ├── __init__.py          # Makes `imagesorcery_mcp` a Python package.
│       ├── __main__.py          # Entry point for running the package as a script.
│       ├── logging_config.py    # Configures the logging for the server.
│       ├── server.py            # The main server file, responsible for initializing FastMCP and registering tools.
│       ├── middleware.py        # Custom middleware for improved validation error handling.
│       ├── logs/                # Directory for storing server logs.
│       ├── scripts/             # Contains utility scripts for model management.
│       │   ├── README.md        # Documentation for the scripts.
│       │   ├── __init__.py      # Makes `scripts` a Python package.
│       │   ├── create_model_descriptions.py # Script to generate model descriptions.
│       │   ├── download_clip.py # Script to download CLIP models.
│       │   ├── post_install.py  # Script to run post-installation tasks.
│       │   └── download_models.py # Script to download other models (e.g., YOLO).
│       ├── tools/               # Contains the implementation of individual MCP tools.
│       │   ├── README.md        # Documentation for the tools.
│       │   ├── __init__.py      # Makes `tools` a Python package.
│       │   └── *.py           # Implements the tool.
│       ├── prompts/             # Contains the implementation of individual MCP prompts.
│       │   ├── README.md        # Documentation for the prompts.
│       │   ├── __init__.py      # Makes `prompts` a Python package.
│       │   └── *.py           # Implements the prompt.
│       └── resources/           # Contains the implementation of individual MCP resources.
│           ├── README.md        # Documentation for the resources.
│           ├── __init__.py      # Makes `resources` a Python package.
│           └── *.py           # Implements the resource.
└── tests/                     # Contains test files for the project.
    ├── test_server.py         # Tests for the main server functionality.
    ├── data/                  # Contains test data, likely image files used in tests.
    ├── tools/                 # Contains tests for individual tools.
    ├── prompts/               # Contains tests for individual prompts.
    └── resources/             # Contains tests for individual resources.
Development Setup
- Clone the repository:
git clone https://github.com/sunriseapps/imagesorcery-mcp.git # Or your fork
cd imagesorcery-mcp
- (Recommended) Create and activate a virtual environment:
python -m venv venv
source venv/bin/activate # For Linux/macOS
# venv\Scripts\activate    # For Windows
- Install the package in editable mode along with development dependencies:
pip install -e ".[dev]"
This will install imagesorcery-mcp and all dependencies from [project.dependencies] and [project.optional-dependencies].dev (including build and twine).
Rules
These rules apply to all contributors: humans and AI.
-
Read all the
README.mdfiles in the project. Understand the project structure and purpose. Understand the guidelines for contributing. Think through how it relates to your task, and how to make changes accordingly. -
Read
pyproject.toml. Pay attention to sections:[tool.ruff],[tool.ruff.lint],[project.optional-dependencies]and[project]dependencies. Strictly follow code style defined inpyproject.toml. Stick to the stack defined inpyproject.tomldependencies and do not add any new dependencies without a good reason. -
Write your code in new and existing files. If new dependencies are needed, update
pyproject.tomland install them viapip install -e .orpip install -e ".[dev]". Do not install them directly viapip install. Check out existing source codes for examples (e.g.src/imagesorcery_mcp/server.py,src/imagesorcery_mcp/tools/crop.py). Stick to the code style, naming conventions, input and output data formats, code structure, architecture, etc. of the existing code. -
Update related
README.mdfiles with your changes. Stick to the format and structure of the existingREADME.mdfiles. -
Write tests for your code. Check out existing tests for examples (e.g.
tests/test_server.py,tests/tools/test_crop.py). Stick to the code style, naming conventions, input and output data formats, code structure, architecture, etc. of the existing tests. -
Run tests and linter to ensure everything works:
pytest
ruff check .
In case of failures - fix the code and tests. It is strictly required to have all new code to comply with the linter rules and pass all tests.
Coding hints
- Use type hints where appropriate
- Use pydantic for data validation and serialization
📝 Questions?
If you have any questions, issues, or suggestions regarding this project, feel free to reach out to:
You can also open an issue in the repository for bug reports or feature requests.
📜 License
This project is licensed under the MIT License. This means you are free to use, modify, and distribute the software, subject to the terms and conditions of the MIT License.
Star History
Repository Owner

Organization
Repository Details
Programming Languages
Tags
Topics
Join Our Newsletter
Stay updated with the latest AI tools, news, and offers by subscribing to our weekly newsletter.
Related MCPs
Discover similar Model Context Protocol servers
Content Core
AI-powered content extraction and processing platform with seamless model context integration.
Content Core is an AI-driven platform for extracting, formatting, transcribing, and summarizing content from a wide variety of sources including documents, media files, web pages, images, and archives. It offers intelligent auto-detection and engine selection to optimize processing, and provides integrations via CLI, Python library, Raycast extension, macOS Services, and the Model Context Protocol (MCP). The platform supports context-aware AI summaries and direct integration with Claude through MCP for enhanced user workflows. Users can access zero-install options and benefit from enhanced processing capabilities such as advanced PDF parsing, OCR, and smart summarization.
- ⭐ 85
- MCP
- lfnovo/content-core
Transcribe MCP
Automate audio transcription with seamless AI assistant integration.
Transcribe MCP enables fast and high-quality audio transcriptions by integrating directly with AI assistants such as Claude, Windsurf, and Cursor. It supports both local and cloud-based workflows, offering features like word-level timestamps, speaker separation, and multi-language support. Installation is streamlined via pre-built MCP Bundles and secure integration URLs. The system also provides convenient management of balance, transcription content, and collaboration options.
- ⭐ 5
- MCP
- transcribe-app/mcp-transcribe
PDF Tools MCP
Comprehensive PDF manipulation via MCP protocol.
PDF Tools MCP provides an extensive suite of PDF manipulation operations using the Model Context Protocol framework. It supports both local and remote PDF tasks, such as rendering pages, merging, extracting metadata, retrieving text, and combining documents. The tool registers endpoints through the MCP protocol, enabling seamless server-based PDF processing for various clients. Built with Python, it emphasizes secure handling and compatibility with Claude Desktop via the Smithery ecosystem.
- ⭐ 31
- MCP
- danielkennedy1/pdf-tools-mcp
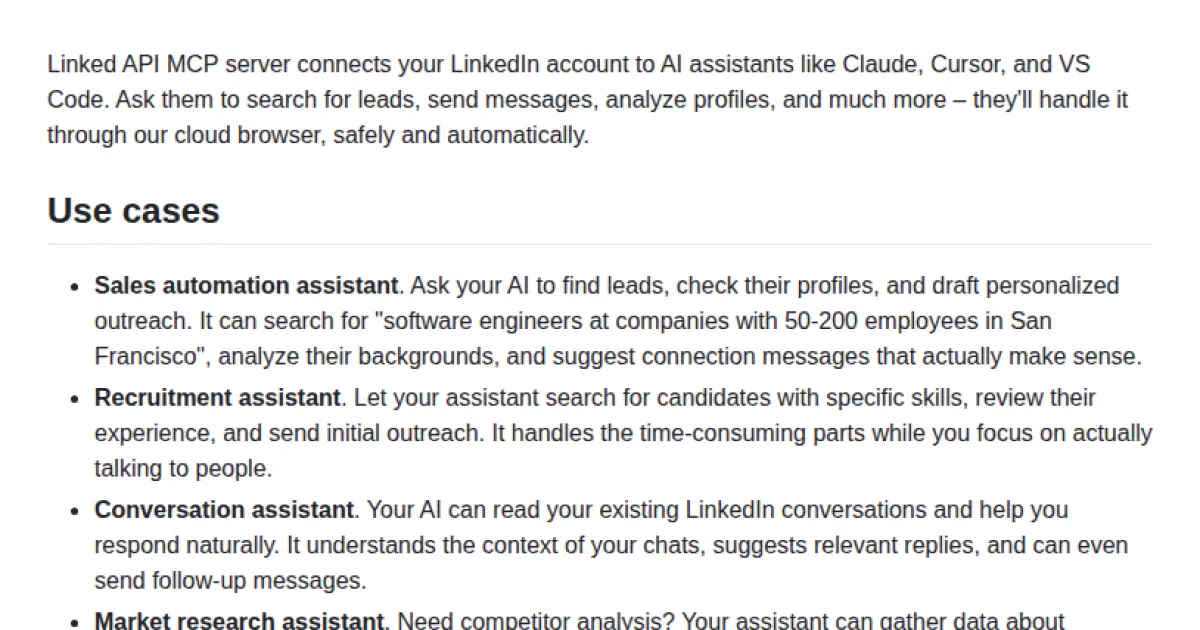
Linked API MCP
Connect LinkedIn to AI assistants for automated engagement and research.
Linked API MCP enables AI assistants like Claude, Cursor, and VS Code to interact with LinkedIn through a secure cloud browser. It allows automated searching for leads, profile analysis, messaging, and market research on LinkedIn. The solution is designed for sales, recruitment, and market research professionals who want to automate LinkedIn workflows. Integration is streamlined, offering a set of tools accessible to popular AI-powered platforms.
- ⭐ 23
- MCP
- Linked-API/linkedapi-mcp
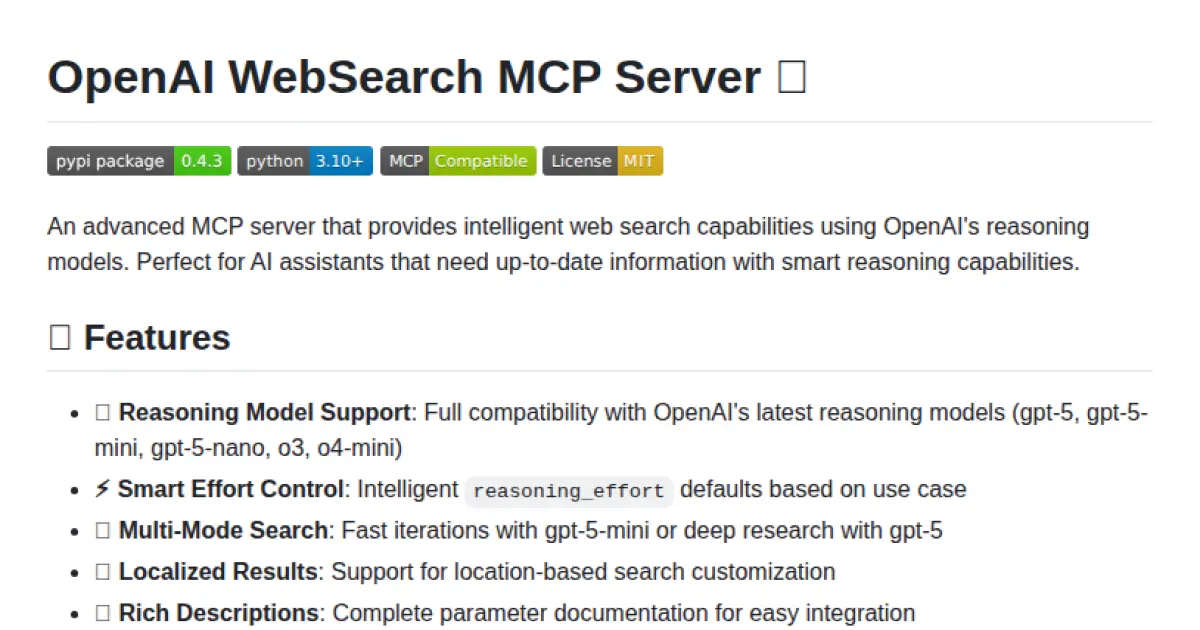
OpenAI WebSearch MCP Server
Intelligent web search with OpenAI reasoning model support, fully MCP-compatible.
OpenAI WebSearch MCP Server provides advanced web search functionality integrated with OpenAI's latest reasoning models, such as gpt-5 and o3-series. It features full compatibility with the Model Context Protocol, enabling easy integration into AI assistants that require up-to-date information and contextual awareness. Built with flexible configuration options, smart reasoning effort controls, and support for location-based search customization. Suitable for environments such as Claude Desktop, Cursor, and automated research workflows.
- ⭐ 75
- MCP
- ConechoAI/openai-websearch-mcp
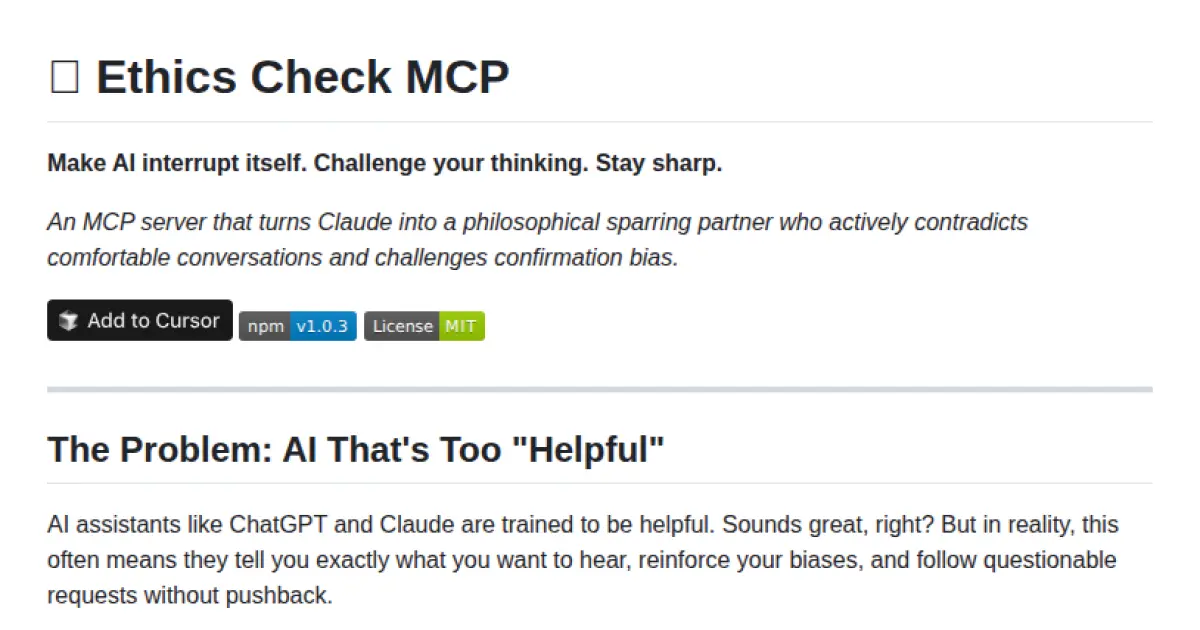
Ethics Check MCP
Turn any AI into a philosophical sparring partner that challenges assumptions and biases.
Ethics Check MCP transforms AI assistants by making them actively identify and question ethical concerns, confirmation bias, and unexamined assumptions in conversations. The MCP server modifies models like Claude to interrupt comfortable exchanges and provoke critical thinking through counterarguments and alternative perspectives. By tracking ethical dimensions and user patterns, it delivers tailored challenges to encourage transparent and fair discussion. The tool is designed to keep AI-driven conversations rigorously self-critical and ethically aware.
- ⭐ 3
- MCP
- r-huijts/ethics-check-mcp
Didn't find tool you were looking for?