Redis MCP Server
Natural language interface for managing and querying Redis via the Model Context Protocol.
Key Features
Use Cases
README
Redis MCP Server
![]()

![]()
![]()

![]()


Overview
The Redis MCP Server is a natural language interface designed for agentic applications to efficiently manage and search data in Redis. It integrates seamlessly with MCP (Model Content Protocol) clients, enabling AI-driven workflows to interact with structured and unstructured data in Redis. Using this MCP Server, you can ask questions like:
- "Store the entire conversation in a stream"
- "Cache this item"
- "Store the session with an expiration time"
- "Index and search this vector"
Table of Contents
- Overview
- Features
- Tools
- Installation
- From PyPI (recommended)
- Testing the PyPI package
- From GitHub
- Development Installation
- With Docker
- Configuration
- Redis ACL
- Configuration via command line arguments
- Configuration via Environment Variables
- EntraID Authentication for Azure Managed Redis
- Logging
- Integrations
- OpenAI Agents SDK
- Augment
- Claude Desktop
- VS Code with GitHub Copilot
- Testing
- Example Use Cases
- Contributing
- License
- Badges
- Contact
Features
- Natural Language Queries: Enables AI agents to query and update Redis using natural language.
- Seamless MCP Integration: Works with any MCP client for smooth communication.
- Full Redis Support: Handles hashes, lists, sets, sorted sets, streams, and more.
- Search & Filtering: Supports efficient data retrieval and searching in Redis.
- Scalable & Lightweight: Designed for high-performance data operations.
- EntraID Authentication: Native support for Azure Active Directory authentication with Azure Managed Redis.
- The Redis MCP Server supports the
stdiotransport. Support to thestremable-httptransport will be added in the future.
Tools
This MCP Server provides tools to manage the data stored in Redis.
stringtools to set, get strings with expiration. Useful for storing simple configuration values, session data, or caching responses.hashtools to store field-value pairs within a single key. The hash can store vector embeddings. Useful for representing objects with multiple attributes, user profiles, or product information where fields can be accessed individually.listtools with common operations to append and pop items. Useful for queues, message brokers, or maintaining a list of most recent actions.settools to add, remove and list set members. Useful for tracking unique values like user IDs or tags, and for performing set operations like intersection.sorted settools to manage data for e.g. leaderboards, priority queues, or time-based analytics with score-based ordering.pub/subfunctionality to publish messages to channels and subscribe to receive them. Useful for real-time notifications, chat applications, or distributing updates to multiple clients.streamstools to add, read, and delete from data streams. Useful for event sourcing, activity feeds, or sensor data logging with consumer groups support.JSONtools to store, retrieve, and manipulate JSON documents in Redis. Useful for complex nested data structures, document databases, or configuration management with path-based access.
Additional tools.
query enginetools to manage vector indexes and perform vector searchserver managementtool to retrieve information about the database
Installation
The Redis MCP Server is available as a PyPI package and as direct installation from the GitHub repository.
From PyPI (recommended)
Configuring the latest Redis MCP Server version from PyPI, as an example, can be done importing the following JSON configuration in the desired framework or tool.
The uvx command will download the server on the fly (if not cached already), create a temporary environment, and then run it.
{
  "mcpServers": {
    "RedisMCPServer": {
      "command": "uvx",
      "args": [
        "--from",
        "redis-mcp-server@latest",
        "redis-mcp-server",
        "--url",
        "\"redis://localhost:6379/0\""
      ]
    }
  }
}
URL specification
The format to specify the --url argument follows the redis and rediss schemes:
redis://user:secret@localhost:6379/0?foo=bar&qux=baz
As an example, you can easily connect to a localhost server with:
redis://localhost:6379/0
Where 0 is the logical database you'd like to connect to.
For an encrypted connection to the database (e.g., connecting to a Redis Cloud database), you'd use the rediss scheme.
rediss://user:secret@localhost:6379/0?foo=bar&qux=baz
To verify the server's identity, specify ssl_ca_certs.
rediss://user:secret@hostname:port?ssl_cert_reqs=required&ssl_ca_certs=path_to_the_certificate
For an unverified connection, set ssl_cert_reqs to none
rediss://user:secret@hostname:port?ssl_cert_reqs=none
Configure your connection using the available options in the section "Available CLI Options".
Testing the PyPI package
You can install the package as follows:
pip install redis-mcp-server
And start it using uv the package in your environment.
uv python install 3.14
uv sync
uv run redis-mcp-server --url redis://localhost:6379/0
However, starting the MCP Server is most useful when delegate to the framework or tool where this MCP Server is configured.
From GitHub
You can configure the desired Redis MCP Server version with uvx, which allows you to run it directly from GitHub (from a branch, or use a tagged release).
It is recommended to use a tagged release, the
mainbranch is under active development and may contain breaking changes.
As an example, you can execute the following command to run the 0.2.0 release:
uvx --from git+https://github.com/redis/mcp-redis.git@0.2.0 redis-mcp-server --url redis://localhost:6379/0
Check the release notes for the latest version in the Releases section. Additional examples are provided below.
# Run with Redis URI
uvx --from git+https://github.com/redis/mcp-redis.git redis-mcp-server --url redis://localhost:6379/0

# Run with Redis URI and SSL
uvx --from git+https://github.com/redis/mcp-redis.git redis-mcp-server --url "rediss://<USERNAME>:<PASSWORD>@<HOST>:<PORT>?ssl_cert_reqs=required&ssl_ca_certs=<PATH_TO_CERT>"

# Run with individual parameters
uvx --from git+https://github.com/redis/mcp-redis.git redis-mcp-server --host localhost --port 6379 --password mypassword

# See all options
uvx --from git+https://github.com/redis/mcp-redis.git redis-mcp-server --help
Development Installation
For development or if you prefer to clone the repository:
# Clone the repository
git clone https://github.com/redis/mcp-redis.git
cd mcp-redis

# Install dependencies using uv
uv venv
source .venv/bin/activate
uv sync

# Run with CLI interface
uv run redis-mcp-server --help

# Or run the main file directly (uses environment variables)
uv run src/main.py
Once you cloned the repository, installed the dependencies and verified you can run the server, you can configure Claude Desktop or any other MCP Client to use this MCP Server running the main file directly (it uses environment variables). This is usually preferred for development. The following example is for Claude Desktop, but the same applies to any other MCP Client.
- Specify your Redis credentials and TLS configuration
- Retrieve your
uvcommand full path (e.g.which uv) - Edit the
claude_desktop_config.jsonconfiguration file- on a MacOS, at
~/Library/Application\ Support/Claude/
- on a MacOS, at
{
    "mcpServers": {
        "redis": {
            "command": "<full_path_uv_command>",
            "args": [
                "--directory",
                "<your_mcp_server_directory>",
                "run",
                "src/main.py"
            ],
            "env": {
                "REDIS_HOST": "<your_redis_database_hostname>",
                "REDIS_PORT": "<your_redis_database_port>",
                "REDIS_PWD": "<your_redis_database_password>",
                "REDIS_SSL": True|False,
                "REDIS_SSL_CA_PATH": "<your_redis_ca_path>",
                "REDIS_CLUSTER_MODE": True|False
            }
        }
    }
}
You can troubleshoot problems by tailing the log file.
tail -f ~/Library/Logs/Claude/mcp-server-redis.log
With Docker
You can use a dockerized deployment of this server. You can either build your own image or use the official Redis MCP Docker image.
If you'd like to build your own image, the Redis MCP Server provides a Dockerfile. Build this server's image with:
docker build -t mcp-redis .
Finally, configure the client to create the container at start-up. An example for Claude Desktop is provided below. Edit the claude_desktop_config.json and add:
{
  "mcpServers": {
    "redis": {
      "command": "docker",
      "args": ["run",
                "--rm",
                "--name",
                "redis-mcp-server",
                "-i",
                "-e", "REDIS_HOST=<redis_hostname>",
                "-e", "REDIS_PORT=<redis_port>",
                "-e", "REDIS_USERNAME=<redis_username>",
                "-e", "REDIS_PWD=<redis_password>",
                "mcp-redis"]
    }
  }
}
To use the official Redis MCP Docker image, just replace your image name (mcp-redis in the example above) with mcp/redis.
Configuration
The Redis MCP Server can be configured in two ways: via command line arguments or via environment variables. The precedence is: command line arguments > environment variables > default values.
Redis ACL
You can configure Redis ACL to restrict the access to the Redis database. For example, to create a read-only user:
127.0.0.1:6379> ACL SETUSER readonlyuser on >mypassword ~* +@read -@write
Configure the user via command line arguments or environment variables.
Configuration via command line arguments
When using the CLI interface, you can configure the server with command line arguments:
# Basic Redis connection
uvx --from redis-mcp-server@latest redis-mcp-server \
  --host localhost \
  --port 6379 \
  --password mypassword

# Using Redis URI (simpler)
uvx --from redis-mcp-server@latest redis-mcp-server \
  --url redis://user:pass@localhost:6379/0

# SSL connection
uvx --from redis-mcp-server@latest redis-mcp-server \
  --url rediss://user:pass@redis.example.com:6379/0

# See all available options
uvx --from redis-mcp-server@latest redis-mcp-server --help
Available CLI Options:
--url- Redis connection URI (redis://user:pass@host:port/db)--host- Redis hostname (default: 127.0.0.1)--port- Redis port (default: 6379)--db- Redis database number (default: 0)--username- Redis username--password- Redis password--ssl- Enable SSL connection--ssl-ca-path- Path to CA certificate file--ssl-keyfile- Path to SSL key file--ssl-certfile- Path to SSL certificate file--ssl-cert-reqs- SSL certificate requirements (default: required)--ssl-ca-certs- Path to CA certificates file--cluster-mode- Enable Redis cluster mode
Configuration via Environment Variables
If desired, you can use environment variables. Defaults are provided for all variables.
| Name | Description | Default Value |
|---|---|---|
REDIS_HOST |
Redis IP or hostname | "127.0.0.1" |
REDIS_PORT |
Redis port | 6379 |
REDIS_DB |
Database | 0 |
REDIS_USERNAME |
Default database username | "default" |
REDIS_PWD |
Default database password | "" |
REDIS_SSL |
Enables or disables SSL/TLS | False |
REDIS_SSL_CA_PATH |
CA certificate for verifying server | None |
REDIS_SSL_KEYFILE |
Client's private key file for client authentication | None |
REDIS_SSL_CERTFILE |
Client's certificate file for client authentication | None |
REDIS_SSL_CERT_REQS |
Whether the client should verify the server's certificate | "required" |
REDIS_SSL_CA_CERTS |
Path to the trusted CA certificates file | None |
REDIS_CLUSTER_MODE |
Enable Redis Cluster mode | False |
EntraID Authentication for Azure Managed Redis
The Redis MCP Server supports EntraID (Azure Active Directory) authentication for Azure Managed Redis, enabling OAuth-based authentication with automatic token management.
Authentication Providers
Service Principal Authentication - Application-based authentication using client credentials:
export REDIS_ENTRAID_AUTH_FLOW=service_principal
export REDIS_ENTRAID_CLIENT_ID=your-client-id
export REDIS_ENTRAID_CLIENT_SECRET=your-client-secret
export REDIS_ENTRAID_TENANT_ID=your-tenant-id
Managed Identity Authentication - For Azure-hosted applications:
# System-assigned managed identity
export REDIS_ENTRAID_AUTH_FLOW=managed_identity
export REDIS_ENTRAID_IDENTITY_TYPE=system_assigned

# User-assigned managed identity
export REDIS_ENTRAID_AUTH_FLOW=managed_identity
export REDIS_ENTRAID_IDENTITY_TYPE=user_assigned
export REDIS_ENTRAID_USER_ASSIGNED_CLIENT_ID=your-identity-client-id
Default Azure Credential - Automatic credential discovery (recommended for development):
export REDIS_ENTRAID_AUTH_FLOW=default_credential
export REDIS_ENTRAID_SCOPES=https://redis.azure.com/.default
EntraID Configuration Variables
| Name | Description | Default Value |
|---|---|---|
REDIS_ENTRAID_AUTH_FLOW |
Authentication flow type | None (EntraID disabled) |
REDIS_ENTRAID_CLIENT_ID |
Service Principal client ID | None |
REDIS_ENTRAID_CLIENT_SECRET |
Service Principal client secret | None |
REDIS_ENTRAID_TENANT_ID |
Azure tenant ID | None |
REDIS_ENTRAID_IDENTITY_TYPE |
Managed identity type | "system_assigned" |
REDIS_ENTRAID_USER_ASSIGNED_CLIENT_ID |
User-assigned managed identity client ID | None |
REDIS_ENTRAID_SCOPES |
OAuth scopes for Default Azure Credential | "https://redis.azure.com/.default" |
REDIS_ENTRAID_RESOURCE |
Azure Redis resource identifier | "https://redis.azure.com/" |
Key Features
- Automatic token renewal - Background token refresh with no manual intervention
- Graceful fallback - Falls back to standard Redis authentication when EntraID not configured
- Multiple auth flows - Supports Service Principal, Managed Identity, and Default Azure Credential
- Enterprise ready - Designed for Azure Managed Redis with centralized identity management
Example Configuration
For local development with Azure CLI:
# Login with Azure CLI
az login

# Configure MCP server
export REDIS_ENTRAID_AUTH_FLOW=default_credential
export REDIS_URL=redis://your-azure-redis.redis.cache.windows.net:6379
For production with Service Principal:
export REDIS_ENTRAID_AUTH_FLOW=service_principal
export REDIS_ENTRAID_CLIENT_ID=your-app-client-id
export REDIS_ENTRAID_CLIENT_SECRET=your-app-secret
export REDIS_ENTRAID_TENANT_ID=your-tenant-id
export REDIS_URL=redis://your-azure-redis.redis.cache.windows.net:6379
For Azure-hosted applications with Managed Identity:
export REDIS_ENTRAID_AUTH_FLOW=managed_identity
export REDIS_ENTRAID_IDENTITY_TYPE=system_assigned
export REDIS_URL=redis://your-azure-redis.redis.cache.windows.net:6379
There are several ways to set environment variables:
- Using a
.envFile: Place a.envfile in your project directory with key-value pairs for each environment variable. Tools likepython-dotenv,pipenv, anduvcan automatically load these variables when running your application. This is a convenient and secure way to manage configuration, as it keeps sensitive data out of your shell history and version control (if.envis in.gitignore). For example, create a.envfile with the following content from the.env.examplefile provided in the repository:
cp .env.example .env
Then edit the .env file to set your Redis configuration:
OR,
- Setting Variables in the Shell: You can export environment variables directly in your shell before running your application. For example:
export REDIS_HOST=your_redis_host
export REDIS_PORT=6379
# Other variables will be set similarly...
This method is useful for temporary overrides or quick testing.
Logging
The server uses Python's standard logging and is configured at startup. By default it logs at WARNING and above. You can change verbosity with the MCP_REDIS_LOG_LEVEL environment variable.
- Accepted values (case-insensitive):
DEBUG,INFO,WARNING,ERROR,CRITICAL,NOTSET - Aliases supported:
WARN→WARNING,FATAL→CRITICAL - Numeric values are also accepted, including signed (e.g.,
"10","+20") - Default when unset or unrecognized:
WARNING
Handler behavior
- If the host (e.g.,
uv, VS Code, pytest) already installed console handlers, the server will NOT add its own; it only lowers overly-restrictive handler thresholds so your chosen level is not filtered out. It will never raise a handler's threshold. - If no handlers are present, the server adds a single stderr StreamHandler with a simple format.
Examples
# See normal lifecycle messages
MCP_REDIS_LOG_LEVEL=INFO uv run src/main.py

# Very verbose for debugging
MCP_REDIS_LOG_LEVEL=DEBUG uvx --from redis-mcp-server@latest redis-mcp-server --url redis://localhost:6379/0
In MCP client configs that support env, add it alongside your Redis settings. For example:
{
  "mcpServers": {
    "redis": {
      "command": "uvx",
      "args": ["--from", "redis-mcp-server@latest", "redis-mcp-server", "--url", "redis://localhost:6379/0"],
      "env": {
        "REDIS_HOST": "localhost",
        "REDIS_PORT": "6379",
        "MCP_REDIS_LOG_LEVEL": "INFO"
      }
    }
  }
}
Integrations
Integrating this MCP Server to development frameworks like OpenAI Agents SDK, or with tools like Claude Desktop, VS Code, or Augment is described in the following sections.
OpenAI Agents SDK
Integrate this MCP Server with the OpenAI Agents SDK. Read the documents to learn more about the integration of the SDK with MCP.
Install the Python SDK.
pip install openai-agents
Configure the OpenAI token:
export OPENAI_API_KEY="<openai_token>"
And run the application.
python3.14 redis_assistant.py
You can troubleshoot your agent workflows using the OpenAI dashboard.
Augment
The preferred way of configuring the Redis MCP Server in Augment is to use the Easy MCP feature.
You can also configure the Redis MCP Server in Augment manually by importing the server via JSON:
{
  "mcpServers": {
    "Redis MCP Server": {
      "command": "uvx",
      "args": [
        "--from",
        "redis-mcp-server@latest",
        "redis-mcp-server",
        "--url",
        "redis://localhost:6379/0"
      ]
    }
  }
}
Claude Desktop
The simplest way to configure MCP clients is using uvx. Add the following JSON to your claude_desktop_config.json, remember to provide the full path to uvx.
Basic Redis connection:
{
  "mcpServers": {
    "redis-mcp-server": {
        "type": "stdio",
        "command": "/Users/mortensi/.local/bin/uvx",
        "args": [
            "--from", "redis-mcp-server@latest",
            "redis-mcp-server",
            "--url", "redis://localhost:6379/0"
        ]
    }
  }
}
Azure Managed Redis with EntraID authentication:
{
  "mcpServers": {
    "redis-mcp-server": {
        "type": "stdio",
        "command": "/Users/mortensi/.local/bin/uvx",
        "args": [
            "--from", "redis-mcp-server@latest",
            "redis-mcp-server",
            "--url", "redis://your-azure-redis.redis.cache.windows.net:6379"
        ],
        "env": {
            "REDIS_ENTRAID_AUTH_FLOW": "default_credential",
            "REDIS_ENTRAID_SCOPES": "https://redis.azure.com/.default"
        }
    }
  }
}
VS Code with GitHub Copilot
To use the Redis MCP Server with VS Code, you must nable the agent mode tools. Add the following to your settings.json:
{
  "chat.agent.enabled": true
}
You can start the GitHub desired version of the Redis MCP server using uvx by adding the following JSON to your mcp.json file:
"servers": {
  "redis": {
    "type": "stdio",
    "command": "uvx",
    "args": [
      "--from", "redis-mcp-server@latest",
      "redis-mcp-server",
      "--url", "redis://localhost:6379/0"
    ]
  },
}
Suppressing uvx Installation Messages
If you want to suppress uvx installation messages that may appear as warnings in MCP client logs, use the -qq flag:
"servers": {
  "redis": {
    "type": "stdio",
    "command": "uvx",
    "args": [
      "-qq",
      "--from", "redis-mcp-server@latest",
      "redis-mcp-server",
      "--url", "redis://localhost:6379/0"
    ]
  },
}
The -qq flag enables silent mode, which suppresses "Installed X packages" messages that uvx writes to stderr during package installation.
Alternatively, you can start the server using uv and configure your mcp.json. This is usually desired for development.
// mcp.json
{
  "servers": {
    "redis": {
      "type": "stdio",
      "command": "<full_path_uv_command>",
      "args": [
        "--directory",
        "<your_mcp_server_directory>",
        "run",
        "src/main.py"
      ],
      "env": {
        "REDIS_HOST": "<your_redis_database_hostname>",
        "REDIS_PORT": "<your_redis_database_port>",
        "REDIS_USERNAME": "<your_redis_database_username>",
        "REDIS_PWD": "<your_redis_database_password>",
      }
    }
  }
}
For more information, see the VS Code documentation.
Tip: You can prompt Copilot chat to use the Redis MCP tools by including
#redisin your message.
Note: Starting with VS Code v1.102,
MCP servers are now stored in a dedicatedmcp.jsonfile instead ofsettings.json.
Testing
You can use the MCP Inspector for visual debugging of this MCP Server.
npx @modelcontextprotocol/inspector uv run src/main.py
Example Use Cases
- AI Assistants: Enable LLMs to fetch, store, and process data in Redis.
- Chatbots & Virtual Agents: Retrieve session data, manage queues, and personalize responses.
- Data Search & Analytics: Query Redis for real-time insights and fast lookups.
- Event Processing: Manage event streams with Redis Streams.
Contributing
- Fork the repo
- Create a new branch (
feature-branch) - Commit your changes
- Push to your branch and submit a PR!
License
This project is licensed under the MIT License.
Badges
Contact
For questions or support, reach out via GitHub Issues.
Alternatively, you can join the Redis Discord server and ask in the #redis-mcp-server channel.
Star History
Repository Owner

Organization
Repository Details
Programming Languages
Tags
Topics
Join Our Newsletter
Stay updated with the latest AI tools, news, and offers by subscribing to our weekly newsletter.
Related MCPs
Discover similar Model Context Protocol servers
Azure MCP Server
Connect AI agents with Azure services through Model Context Protocol.
Azure MCP Server provides a seamless interface between AI agents and Azure services by implementing the Model Context Protocol (MCP) specification. It enables integration with tools like GitHub Copilot for Azure and supports a wide range of Azure resource management tasks directly via conversational AI interfaces. Designed for extensibility and compatibility, it offers enhanced contextual capabilities for agents working with Azure environments.
- ⭐ 1,178
- MCP
- Azure/azure-mcp
Azure DevOps MCP Server
Standardized AI access to Azure DevOps via Model Context Protocol.
Implements the Model Context Protocol (MCP) to enable AI assistants to securely and efficiently interact with Azure DevOps resources. Provides a standardized bridge for managing projects, work items, repositories, pull requests, and pipelines through natural language interfaces. Supports modular authentication and a feature-based architecture for scalability and integration. Facilitates seamless integration with AI tools such as Claude Desktop and Cursor AI.
- ⭐ 306
- MCP
- Tiberriver256/mcp-server-azure-devops
Multi-Database MCP Server (by Legion AI)
Unified multi-database access and AI interaction server with MCP integration.
Multi-Database MCP Server enables seamless access and querying of diverse databases via a unified API, with native support for the Model Context Protocol (MCP). It supports popular databases such as PostgreSQL, MySQL, SQL Server, and more, and is built for integration with AI assistants and agents. Leveraging the MCP Python SDK, it exposes databases as resources, tools, and prompts for intelligent, context-aware interactions, while delivering zero-configuration schema discovery and secure credential management.
- ⭐ 76
- MCP
- TheRaLabs/legion-mcp
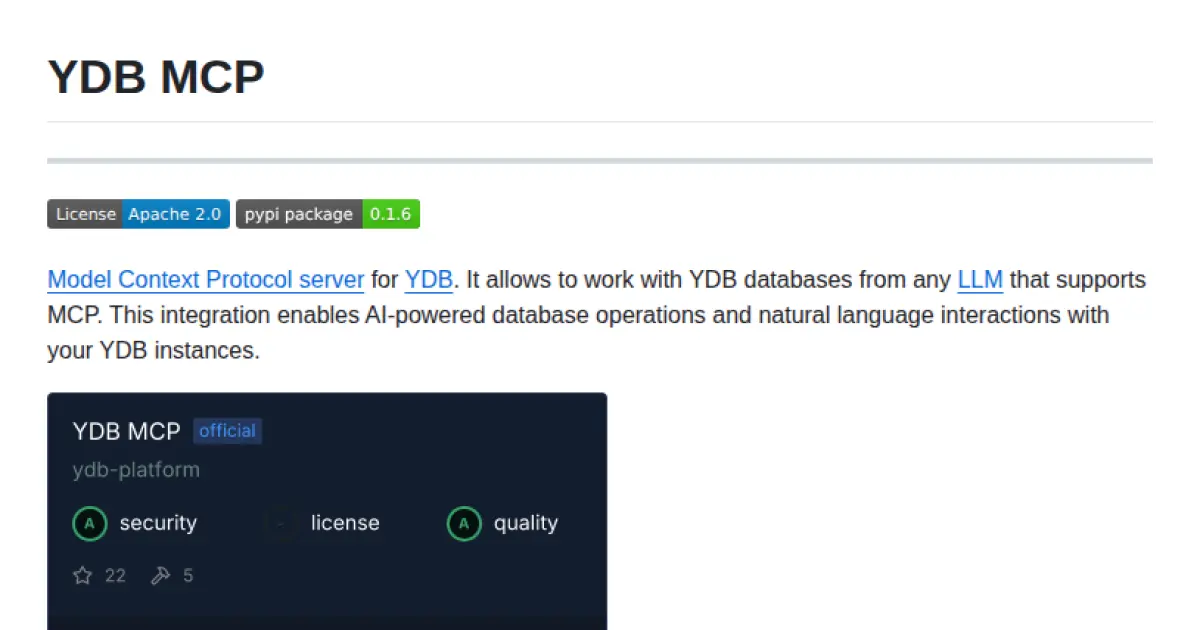
YDB MCP
MCP server for AI-powered natural language database operations on YDB.
YDB MCP acts as a Model Context Protocol server enabling YDB databases to be accessed via any LLM supporting MCP. It allows AI-driven and natural language interaction with YDB instances by bridging database operations with language model interfaces. Flexible deployment through uvx, pipx, or pip is supported, along with multiple authentication methods. The integration empowers users to manage YDB databases conversationally through standardized protocols.
- ⭐ 24
- MCP
- ydb-platform/ydb-mcp
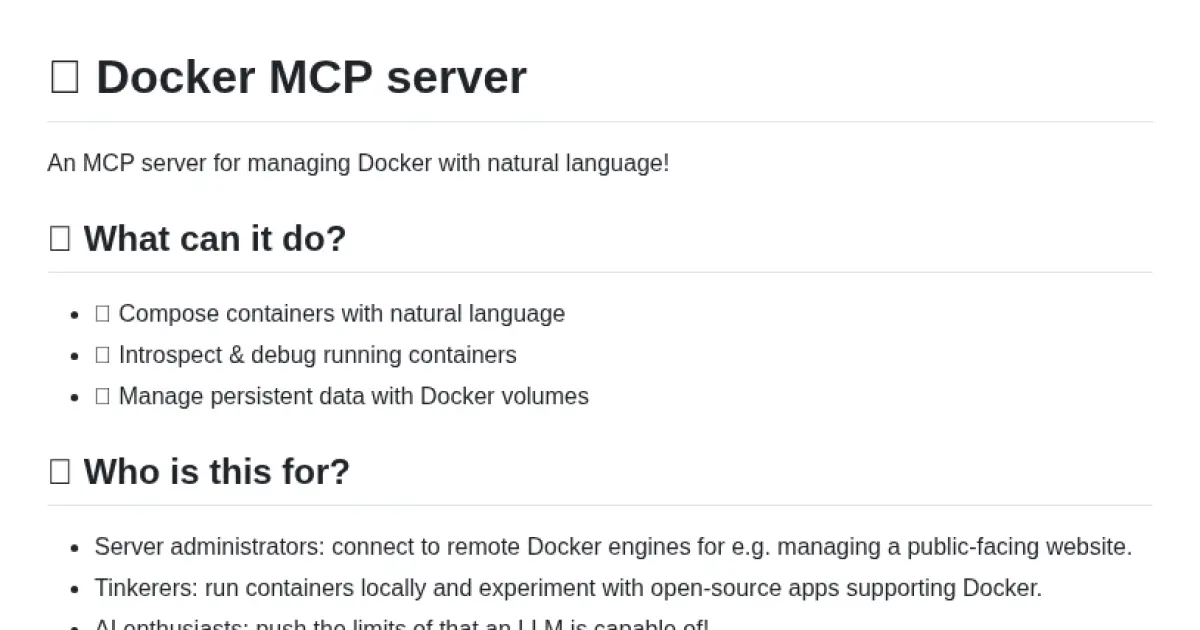
mcp-server-docker
Natural language management of Docker containers via Model Context Protocol.
mcp-server-docker enables users to manage Docker containers using natural language instructions through the Model Context Protocol. It allows composing, introspecting, and debugging containers, as well as managing persistent Docker volumes. The tool is suitable for server administrators, tinkerers, and AI enthusiasts looking to leverage LLM capabilities for Docker management. Integration with tools like Claude Desktop and Docker ensures flexible deployment and easy connectivity to Docker engines.
- ⭐ 648
- MCP
- ckreiling/mcp-server-docker
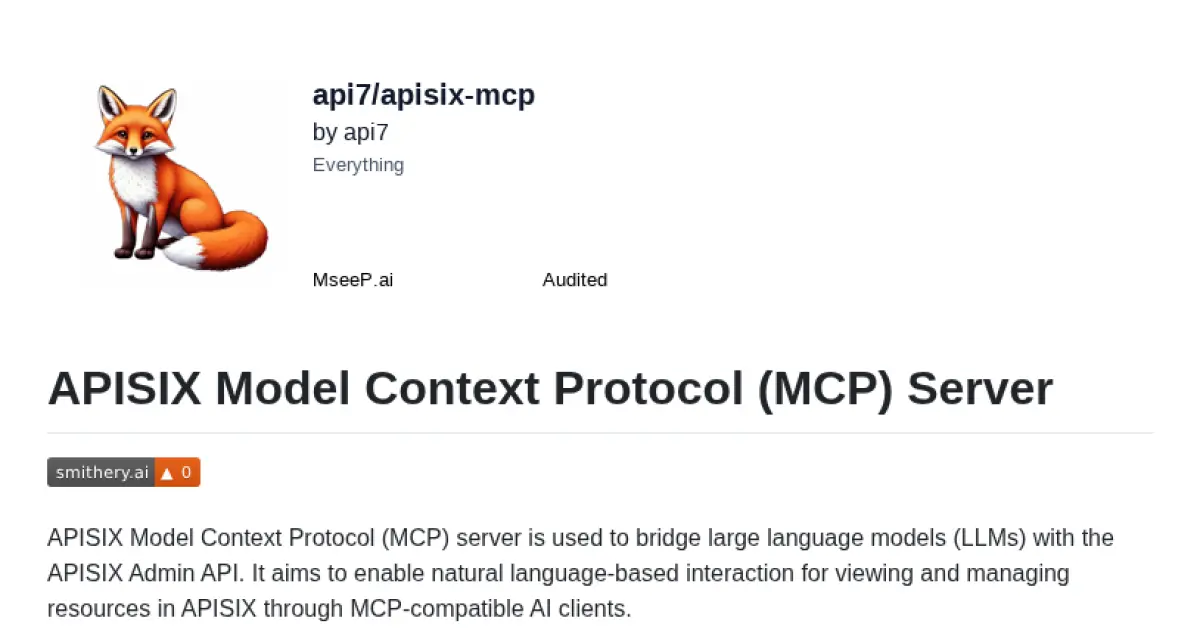
APISIX Model Context Protocol Server
Bridge LLMs with APISIX for natural language API management.
APISIX Model Context Protocol (MCP) Server enables large language models to interact with and manage APISIX resources via natural language commands. It provides a standardized protocol for connecting AI clients like Claude, Cursor, and Copilot to the APISIX Admin API. The server supports a range of operations including CRUD for routes, services, upstreams, plugins, security configurations, and more. Installation is streamlined via Smithery, npm, or direct source setup with customizable environment variables.
- ⭐ 29
- MCP
- api7/apisix-mcp
Didn't find tool you were looking for?